Abby’s Guide > Outdoor Power Equipment (Lawn Mowers, Snow Blowers, Chain Saws and more) > Discussions > Ariens Modified & Repowered 1032 (pics)
Outdoor Power Equipment (Lawn Mowers, Snow Blowers, Chain Saws and more) Discussions |
|
jrtrebor
 
Location: Michigan - 3 hours north of Chicago on the lake
Joined: Feb 9, 2010
Points: 539
![]()
|
 |
Ariens Modified & Repowered 1032 (pics)
Original Message Nov 10, 2011 5:35 pm |
|
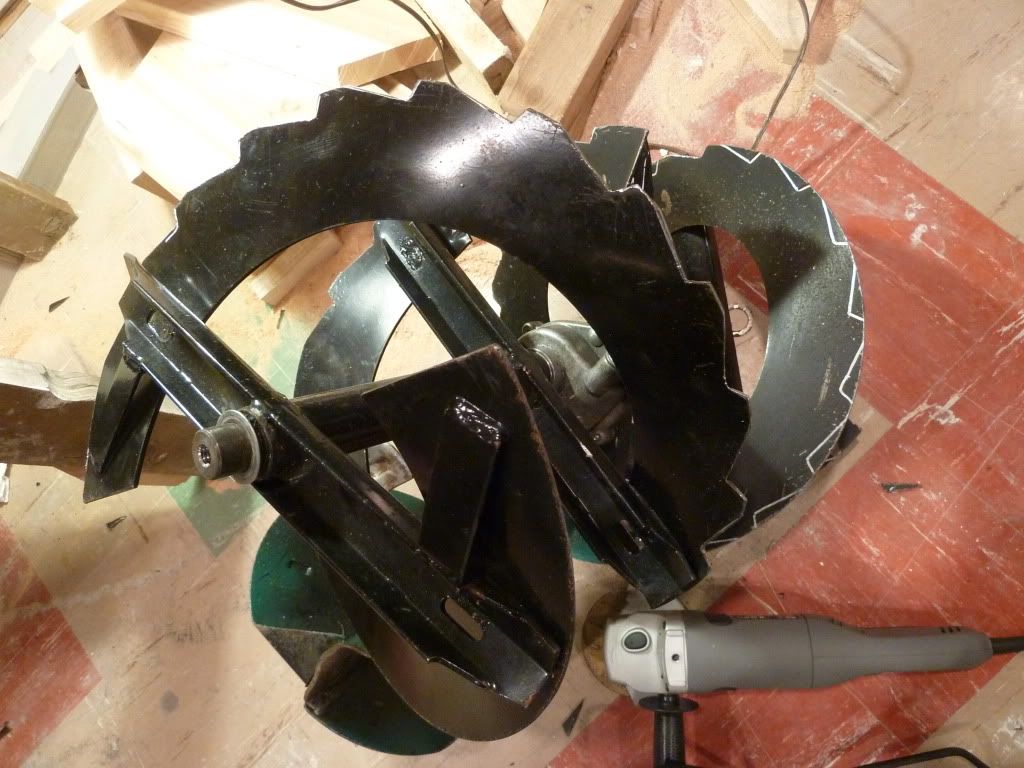
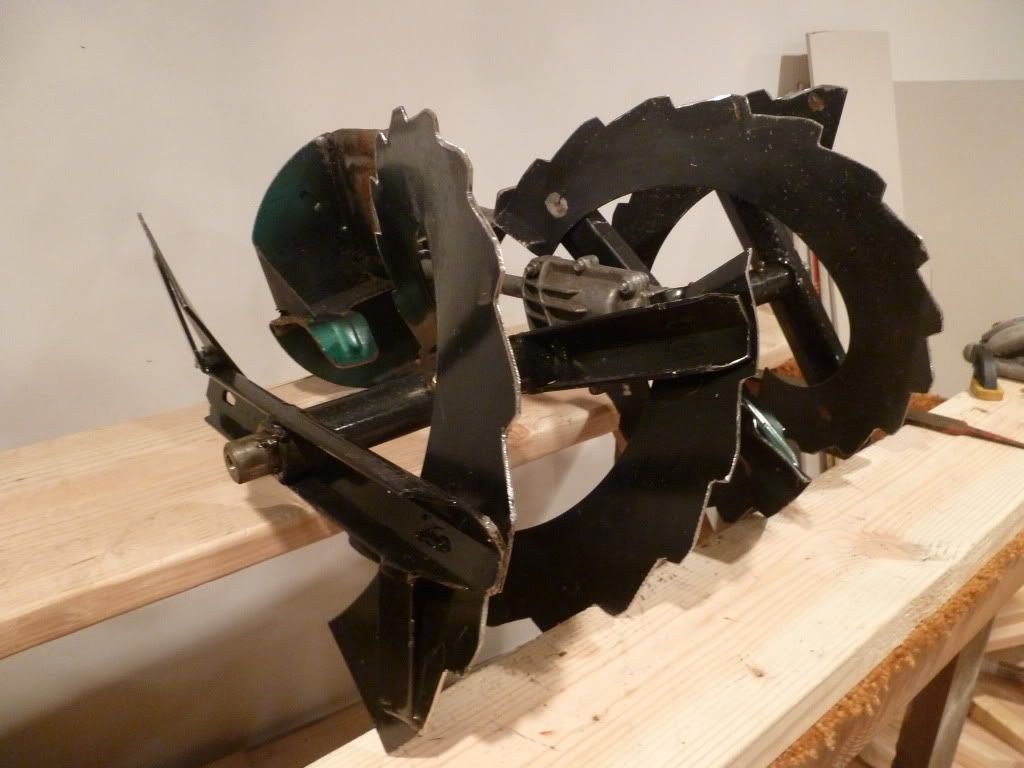
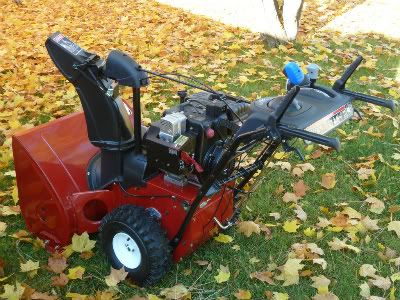
Finally got the electrical straightened out, I hope (with help from some on this board) and finished up everything else. Removed the 11hp Honda clone engine that I put on last year and replaced it with a 13hp Honda GX390 with a 10A lighting coil. Rewired everything. Added a stainless shield on the front of the blower Still have to get a new battery. And hose it down with Fluid Film. But other than that it's ready to go. Had some snow and sleet today. 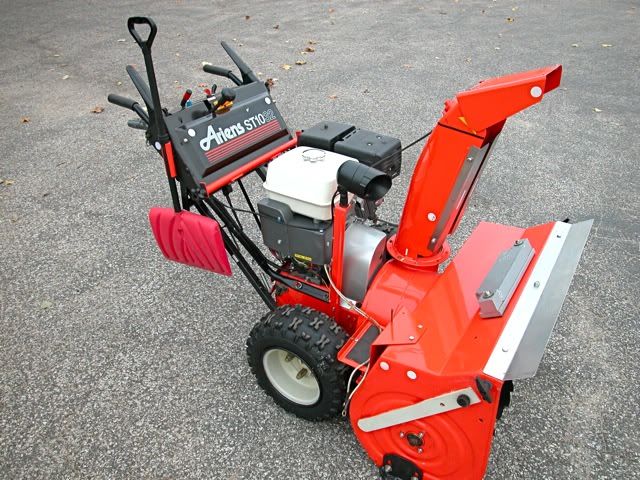 Serrated the Augers. Replaced the auger shaft bushing setup with flange bearings Replaced the impeller bearing. Gave everything a fresh coat of paint. 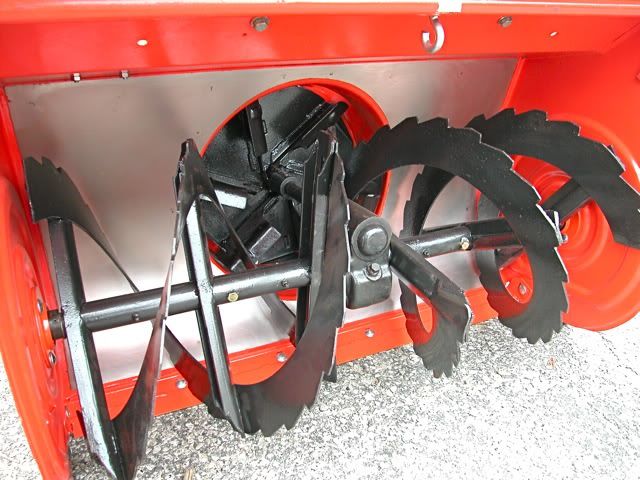 Tapered the deflector 3/8" on both sides to tighten up the stream a little 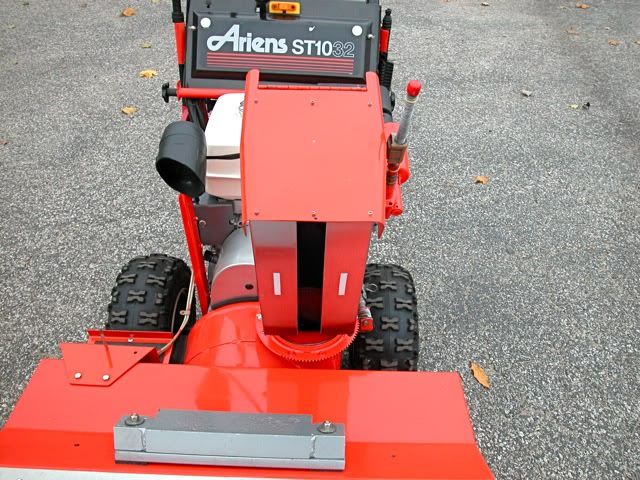 Fabricated a new belt cover. 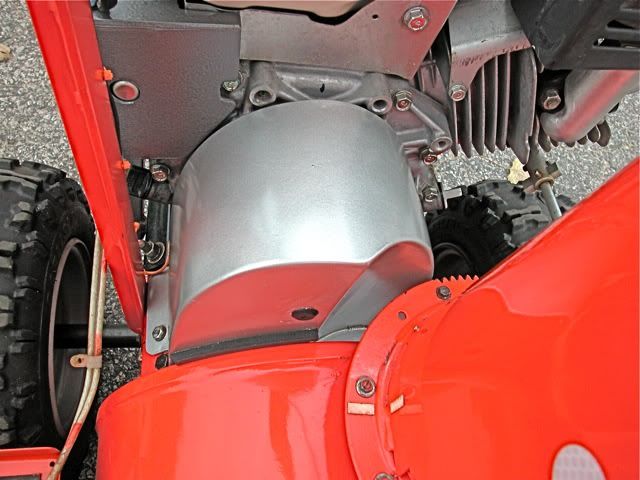 Modified the starter cover to cover the Rectifier and wiring. 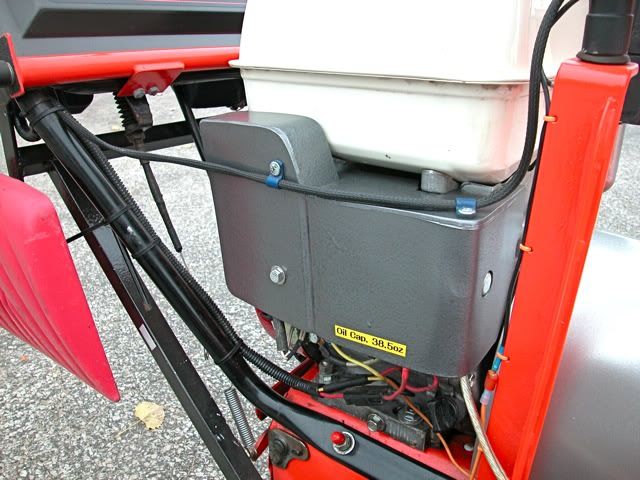 Removed the old steel shields on the front of the chute and replaced them with stainless ones. When I had the wheels off I realized that I could thread in some 1/2 bolts from the back side of the wheel plate to make studs. Then use car lug nuts to hold the wheels on. Now all the threads are protected from the weather inside the lug nuts. I'm keeping my eyes open for a pair of cheap 8" moon hub caps. 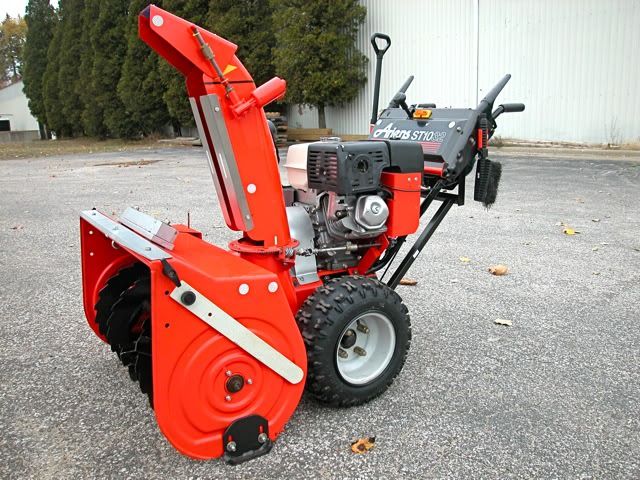
This message was modified Nov 10, 2011 by jrtrebor
|
coasteray
El Toro! 1028 LXE
Tecumseh 358cc
10hp
Location: NE Washington State
Joined: Mar 2, 2008
Points: 142
![]()
|
 |
Re: Ariens Modified & Repowered 1032 (pics)
Reply #43 Dec 12, 2011 10:57 pm |
|
Your augers turned out nice.
It's a lot of cuts to make isn't it.
Can't wait to see how they bite in on EOD piles.
Wish I had the lighting you've got.
Thanks!. Yeah, it was a lot of work, mostly just the time, as you already know, but it sure does take a good eye and a steady hand to make sure the cutting blade goes where you want it to. Like you said in your original post in October, it took a couple of hours. The noise from the grinder is very annoying, but I had those 3M headset-style earmuffs from ACE hardware that kept my ears safe. The end result is the reward, though. It makes me appreciate your own project on that ST1032 a lot more. The lighting in my son's basement is 8 can lights. It really lights up the place. About 25 feet by 12 feet. It's currently in the final stages of its own remodeling. Extra mentions: You might notice the greenish-looking impeller. He got a new replacement. The old one had a bent tip (about a 30-degree bend), and the rest was dinged and dented around some of the blade edges. Too rough for a Clarence kit. He's going to sand and repaint the housing where it needs it, not a total strip and paint because the rest is pretty nice yet. We also adjusted the chain slack in the gearbox, greased it inside and on the auger shafts, put in a new pulley belt and two new lower handlebars (the old ones were stress-cracked at the bottoms where they attached to the body!), and installed a new friction disc due to bad rubber on the old one causing some slippage. All else looks very fine, but we're going to re-check the belt pulleys. It would have been fun to have put a new Briggs on it (maybe a 305cc instead of a 250cc, just to give it a little boost). My son has the headlight on it now, but it would be nice to also have a remote deflector kit installed on it, though the current manual approach isn't so bad.
This message was modified Feb 12, 2014 by coasteray
 El Toro! 1028 LXE - Tecumseh 358cc 10hp Let it snow! Let it snow! Let it snow! El Toro! 1028 LXE - Tecumseh 358cc 10hp Let it snow! Let it snow! Let it snow!
|
coasteray
El Toro! 1028 LXE
Tecumseh 358cc
10hp
Location: NE Washington State
Joined: Mar 2, 2008
Points: 142
![]()
|
|
|
Re: Ariens Modified & Repowered 1032 (pics)
Reply #46 Nov 21, 2012 9:36 pm |
|
I wonder if either of your gentlemen would be kind enough to provide us with the distance between the tip of each tooth and the depth of the valleys?
Thanks I just happened to see this old post near the top of the list of threads, then saw your post. I got out my cardboard template that I used at Home Depot to measure an Ariens Platinum 30 blower to give you the measurements you were asking about. The "valleys" are .5 inch. From "tip to tip" it is 2.5 inches. Also realize that the "tip" has that little flat spot, which is, interestingly enough, also .5 inch. They could have designed it to be at a right angle, but this looks better. I'm counting from where each valley comes back up to the top, ignoring that little flat spot. I hope what I just said is clear. You should do the same thing we did by taking a small piece of cardboard into Home Depot, find a Platinum 30 blower, and take your pencil or pen to trace it. Hold the cardboard very tightly behind or in front of the auger and then draw carefully without letting the cardboard slip at all, and you should have no problem. My piece of cardboard is 10.5 inches long and 4 inches high. I then cut it out with scissors so my son and I could trace the pattern onto his auger with a silver grease pen. To be honest, the Platinum 30 auger is slightly bigger than the auger on my son's Ariens ST824. However, when applying the template to his auger, we just sort of rotated the template a tiny bit when needed as we went along to accomodate the difference. It doesn't have to be an exacting rocket-science kind of thing, but believe me, it came out really well. Hope this helps. Let us know what happens if you're entertaining the idea of converting your auger. Here's the original thread that started me on this project: http://www.abbysguide.com/ope/discussions/59639-0-1.html
This message was modified Nov 25, 2012 by coasteray
El Toro! 1028 LXE - Tecumseh 358cc 10hp Let it snow! Let it snow! Let it snow!
|
erock1
Joined: Jan 3, 2014
Points: 1
![]()
|
|
|
Re: Ariens Modified & Repowered 1032 (pics)
Reply #47 Jan 4, 2014 11:27 am |
|
Happy New Year. I am a brand new member here. Your machine in particular caught my eye. Was thinking of doing some modification to my blower chute similar to your first metal shields that you experimented with. I was wondering what your impression was of that setup as opposed to your current stainless setup ?? What do you think of a one-piece covering, verses an open channel down the center, such as you have ?? Did either modification induce any new flexure or vibration points ?? What an incredibly neat job you did on that !!! Congrats !!!
-Eric
|
tbe55
Joined: Jan 17, 2015
Points: 2
![]()
|
|
|
Re: Ariens Modified & Repowered 1032 (pics)
Reply #50 Jan 18, 2015 6:07 am |
|
Thank you for sharing your fantastic work! I am thinking about getting one of this machine or a ST1236 to clear snow on our neighborhood pond for the kids to skate on. I would like to be able to throw the snow as far as possible so that I can get the work done in a single run. I've heard that the big machines throw snow better when more snow are fed into the auger house. What is your experience with your machine on shallow snow? Can it throw 1-2 inch snow far? You mentioned that you replaced the auger flank bushing with bearings. What is the part you used? Thanks
|
|
|

 I did the exact same thing you did. I went to Home Depot and drew the auger pattern on some cardboard, then we did exactly what you did. I hope you don't mind me mentioning your post about it. The pictures tell the story well.